Do you remember the time when Instagram and Facebook went down? That outage helped us realize that social media has become a part of our lives. Many of us were extremely frustrated because of the six to eight hours of outage. Truth be told, hours felt like months passed. The most used social media applications’ outage greatly impacted its users. Specifically, those who run an online business that relies primarily on social media experienced their worst nightmare.

As this social media platform has a massive user base, keeping everything on track might be challenging. However, it is to be noted that these outages happen rarely. In fact, that was the most prolonged outage that social media users have ever experienced, which shows that this might not happen frequently. However, minor glitches and errors occur then and now in most social media applications. Especially on Instagram, content creators talk about these glitches frequently as they are the ones who suffer the most.
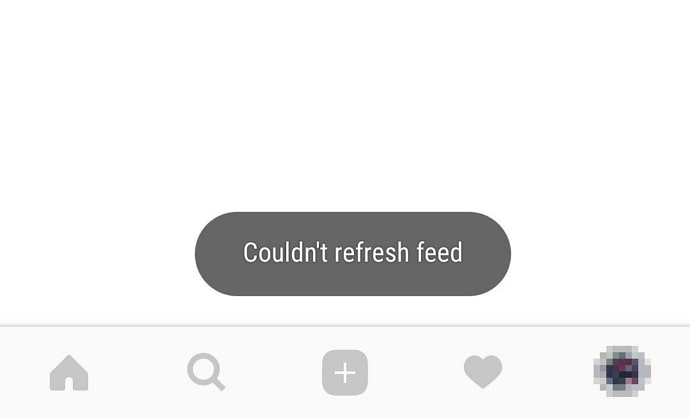
Most Instagram users face minor issues like not being able to upload a story, failing to make a post, and much more errors and glitches. However, sometimes, these might not be an error on the Instagram end. Users might face these kinds of issues for various reasons. In today’s blog, we will discuss one of those problems, which is couldn’t refresh feed on Instagram.
If you’re facing this problem, before you jump to the conclusion that this is an error on the Instagram side, you have to rule out other factors that might have created this problem. Do not worry; we will help you figure out the reason behind this problem. Stay with us till the end to troubleshoot this issue.
Reasons Behind Instagram Couldn’t Refresh Feed Error
In this section, we will list the possible reasons behind this issue. You can rule out one by one if it doesn’t relate to your situation. Without any ado, let us dive in.
1. Poor Internet Connection
Let us first discuss the primary reason. If you’re refreshing your Instagram feed with the hope that this issue will resolve eventually but ended up landing where you left, we have a question for you. Did you check your internet connection? Most of us forget these small steps; let us admit that we are humans and make small mistakes that are totally fine.
So, first, make sure you have a good internet connection. If you’re using WiFi, make sure your WiFi connection is strong, and if it is weak, you may face this issue. However, if you’re already connected to the internet and still cannot refresh your feed, try to disconnect and then connect your network.
2. Clearing Cache Data
When was the last time you cleared your cache? Because this issue may occur due to extensive cache data as well. You might be aware that cache data can also fill up your mobile space and, if deleted, it will help to improve the performance of the device or application.
Hence, deleting Instagram cache data will also help you troubleshoot this problem. Hold on. You don’t have to open a new tab and search for how to delete cache data. We’ve covered how to do that in the below section for Android and iOS users. You can follow the steps which are appropriate to you.
How can you clear the app cache?
Did you realize that the problem you might be facing could be a result of the deposited cache on your device? While we don’t guarantee it, if it’s even a possibility, we must rule it out. Check out the step-by-step guides given below to clear the cache on your smartphone.
For Android users:
Step 1: Unlock your smartphone and open the Settings application. You can find this application in your menu tab, where you can see all the apps you have on your smartphone.
Step 2: You can either search for App Manager in the search bar or find this option under the More Settings tab. Follow any of the methods and reach the app manager tab.
Step 3: Once you follow any of the above steps and reach the app manager tab, navigate the Instagram application option. Most of the time, all the apps will be arranged in alphabetical order, so you can easily find the Instagram option by skimming. Once you find it tap on it.
Step 4: Thereafter, you will be taken to the app info tab to see the information about the Instagram application. In that tab, you can find the Storage option; tap on it.
Step 5: Once you tap on that, you can see a Clear cache option located last on the screen. Tap on it to delete the cache data that has been stored.
For iOS users:
Step 1: Unlock your iphone and navigate the Settings application, and tap on it. You can search for the settings application using a search bar or find it in the menu tab.
Step 2: Now, once you open the settings application, you will see various options that you can alter. In that list, look for the General option; tap on it.
Step 3: After you do that, you will land on the general tab. Now navigate the iPhone storage option and tap on it.
Step 4: In this iPhone storage tab, you will see the list of applications that you have on your device. In that list, navigate the Instagram option and tap on it.
Step 5: Once you get inside the Instagram option, you can see information about the app. There you can find the Offload App option; tap on it. You will be asked for confirmation for the same; without hesitation, tap on it to clear the cache.
How to Fix Couldn’t Refresh Feed Instagram
If any of the steps mentioned above did not satisfy you, the last option left is to reach out to Instagram and report this problem. You can send a report within the Instagram application. Here is a step-by-step guide on how you can send a report to Instagram.
Step 1: Open the Instagram application on your smartphone. Find yourself on the home screen of the application.
Step 2: Tap on your profile icon located at the bottom right corner of your screen. You will land on your profile page, where you can see your feed, bio, and reels sections.
Step 3: Now tap on the hamburger icon, i.e., the three horizontal lines icon located at the top right corner of the screen.
Step 4: Once you do that, a menu will pop from below your screen. There will be a list of options among which you have to choose the first one, i.e., the settings option.
Step 5: You will land on your settings tab, where you can see a list of options. There you have to navigate and tap on the help option; you can find this option at the end of the list.
Step 6: After you tap on the help option, you will be taken inside the help tab. There you will see four options. You have to choose report a problem option which is the first one on the list.
Step 7: Once you tap on that option, a floating menu will pop up. This menu will consist of three options. Again, you have to choose report a problem to submit your issue. Then, you will be asked to describe your issue briefly.
Step 8: You have to add an image or screenshot of the issue you’re facing within the app. You can either attach an image from your gallery, or you can take a screenshot and submit it.
Step 9: Once you are done with this, tap on the submit option located at the top right corner.
That’s it. Finally, after sending the report, you have to wait for 3-5 business days for Instagram to reach out to you.
Frequently asked questions
Why can’t I view who saw my stories on Instagram?
Usually, you can see who viewed your story by tapping on the bottom left corner of your story screen. Even if you did that and could not see who viewed your story, this might be because of a poor internet connection, or you might not have updated the Instagram application. So, try to update and check your network connection. Even if this didn’t work out, wait for a day or two and then report to Instagram about this issue.
Why can’t I post a photo or video successfully on Instagram?
Well, there are many reasons why this might happen to you. To fix this, you can try to clear the cache, uninstall and reinstall the application, or disconnect and connect your mobile data. Even if this doesn’t work, there is a slight possibility that this might be a restriction imposed on your Instagram account. If this is the case, you can reach out to Instagram or wait until your temporary ban is being removed.
Also Read:


 Bitcoin
  Ethereum
  XRP
XRP  Tether
  BNB
BNB  Solana
  USDC
USDC  Dogecoin