Tools like social media messengers and wireless telephones have made communication easier than ever. Thanks to the development of technology, we can connect with our friends and family with just a click. Not only does this help us be more connected with our close ones, but it also helps us grow professionally. While all this development enhances our lifestyle, the communication medium is growing gradually.
Social media like Facebook, WhatsApp, and Instagram play a huge role in connecting like-minded people worldwide. In today’s blog, we will talk about one such social media application called Facebook.
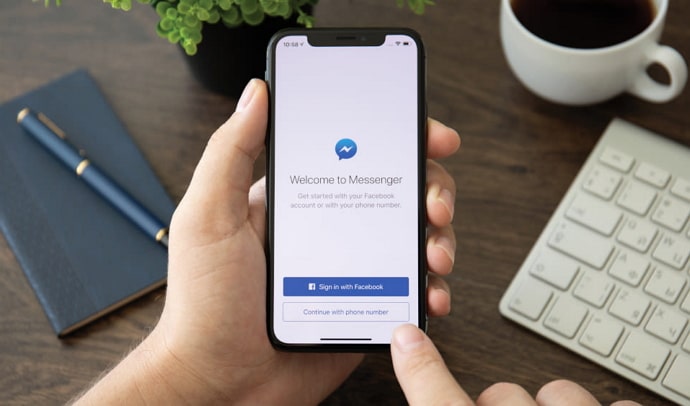
Facebook is the pioneer of all social networks with a separate messaging feature. Users have to use the Messenger app to communicate with others on Facebook. In today’s blog, we will explore how to schedule messages on Messenger.
How to Schedule Messages in Messenger?
If you have a business page on Facebook, you can access the meta business suite. With a handful of tools, you can easily connect with your customers and stay in touch to foster the relationship.
Whenever your ideal customers visit your profile or inquire about your service, they tend to expect a prompt reply. This is where scheduled and automated messages come into play.
You might want to schedule your messages for different reasons. If your follower is in a different time zone or active during a specific period, scheduling your messages makes more sense.
If you have a business page on Facebook, you’ll have access to the inbuilt scheduling tool. Unfortunately, individuals who have a public or private Facebook page do not have access to this message scheduling feature.
Moreover, you must be an admin, editor, or moderator to schedule the messages. If you check off all these boxes, it’s time to learn how to schedule your Facebook messages.
Here is a step-by-step guide to help you navigate the process. You want to use a desktop or personal computer to easily follow through with the instructions.
Step 1: Open Chrome or any browser on your computer or laptop.
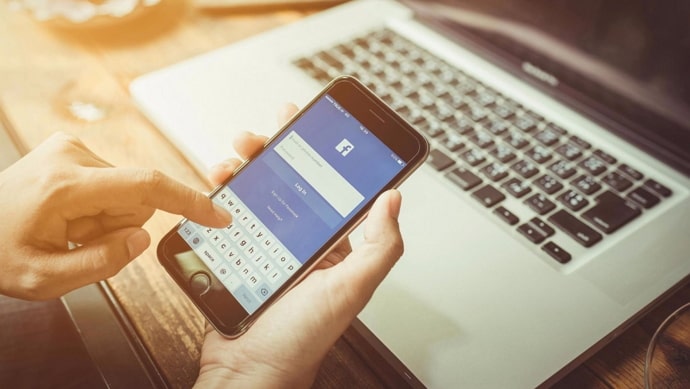
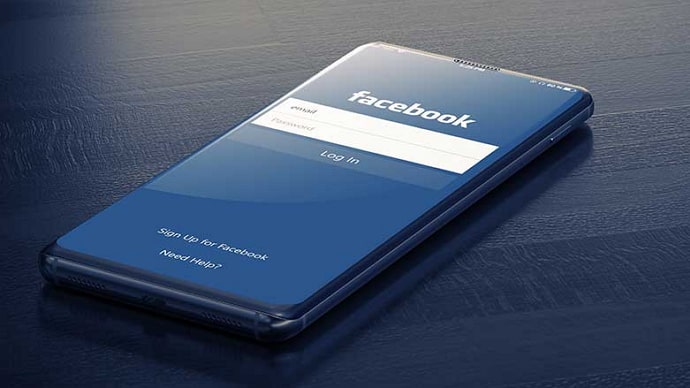
Step 2: Log in to your Facebook account using relevant credentials.
Step 3: Now, you’ll be in your interface. You’ll see the inbox icon located on the right side of the top menu. Tap on it.
Step 4: You can type out the message you want to send to your community or followers.
Step 5: Once you craft the message, choose who you’ll be sending it. Enter their username in the TO bar located at the top of the screen.
Step 6: Now, in the top menu, you can see the schedule option; tap on it.
Step 7: There, you can customize the time you want to send the message to the receiver. You’ll be asked to enter the exact time to schedule the message.
Step 8: You’ll be prompted to provide confirmation; hit the Schedule button to confirm your decision.
Remember to check the time zone before you confirm your schedule. That’s how you can ensure your message is timely and relevant to the receiver.
How to set auto reply in Facebook messages?
Now that you know how to schedule posts on Facebook Messenger, it’s time to learn the details of automating standard messages. Let’s say a new Facebook user has started following you, and now it’s a good opportunity to initiate a conversation and educate them about your brand.
If your account is growing significantly, you may not be able to spend time typing out messages for each of your new followers. So, automating a few Facebook messages to grow a meaningful relationship with your community would be highly effective.
So, in this section, we will help you understand how to automate Facebook messages. Make sure you follow these step-by-step instructions and implement them from the Facebook web page.
Step 1: Open a browser and log in to your Facebook business account.
Step 2: Now, on the left side of your screen, you can find the meta business suite option as the last one on the list of other options. Click on it.
Step 3: You’ll be redirected to the toolkit dedicated to Facebook business profiles.
Step 4: There, you need to click on the inbox option placed as one of many options in the left side menu.
Step 5: Now, on the inbox tab, you can see the automation button located at the top right side of the screen. Click on it.
Step 6: In the automation tab, you need to toggle on the instant reply option to activate your automation.
Step 7: Start creating your customized automation workflow by tapping on the Create automation button placed at the top right side of the menu.
Alternatively, you can use the prebuilt templates as well. Let’s say you’re choosing the instant reply template for this instance.
Step 8: Once you open the template, you can see the toggle to activate the template.
Pro tip: You can automate messages for both Instagram and Messenger. You only need to check the box next to the app name.
Step 9: Now, you need to type out the content for the message you want to automate.
You’ll have a 500 characters limit, leaving you with a chance to keep it short and crisp.
Step 10: After completion, hit Save Changes to set up the automation you created.
That’s how you can easily start automating standard messages in just 10 steps. You can even use AI to craft a compelling, personalized message. This, in turn, helps you build a good rapport with your followers, co-workers, and community.
In the end
Some say Facebook is dead. But the truth is that businesses that are trying to get off the ground use Facebook as a lead generation channel. Facebook users are still super active in the Facebook community, posting content then and now.
We hope this blog helped you understand how you can use the Messenger message scheduler to your benefit. If you have any queries related to social media or gadgets, drop us a line in the comment section. We will address that in our upcoming blogs. You can also refer to our website to explore various tech tips.
Also Read:
 Bitcoin
  Ethereum
  XRP
XRP  Tether
  BNB
BNB  Solana
  USDC
USDC  Dogecoin