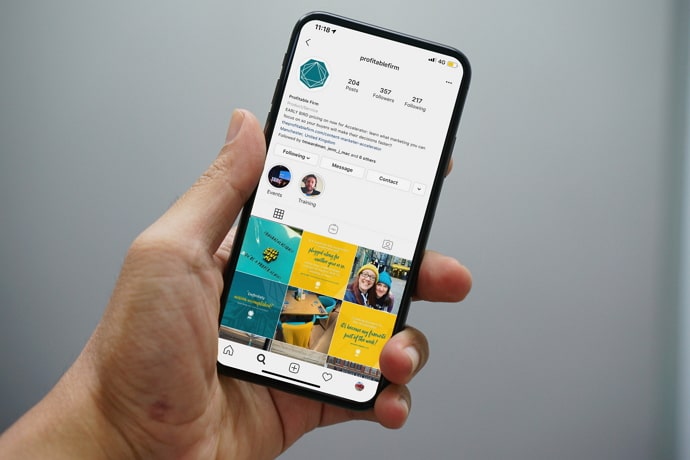
Add Location to Instagram Bio: What’s the first thing that comes to mind when you hear the term “location”? We’re sure 8 out of 10 people would instantly think of the city/town/village/country they’re currently living in. When you’re asked such a question in an interview, you’d answer in a similar manner as well.
But isn’t it annoying when someone DMs you on Instagram asking you the same question?
If it’s a social media platform, shouldn’t people already know that?
And even if it’s someone new you’ve met online, they should be able to know where you’re from, shouldn’t they?
Well, our blog today is going to talk about exactly this issue on how to add location on Instagram bio.
Stick with us till the end if you want to learn more.
Can You Add Location To Instagram Bio?
Before figuring out how you can add your location to your Instagram bio, let’s first discuss if such a facility is available for all Instagram users to enjoy.
Now, we know what you might be thinking; of course, everybody could do that. Why would Instagram distribute such a feature unevenly?
Well, the answer might disappoint you, but here’s the truth: only professional accounts can add their location in bio as they possess a separate section for it that you won’t find on a private account.
But there’s a good reason behind it.
Even if you have a professional account, the address section on your bio will have a Business address written on it. This explains that the feature was initially launched for stores, shops, and offline business outlets to offer their customers their contact information. However, if you want to use it to add your address to your bio, too, all you need to do is switch to a professional account.
How to Switch Your Instagram Private Account to Business
Although switching your private account to a professional one might seem like a big deal to you, in practice, it’s just going to take you a couple of minutes. To aid you with it, we’ve curated a step-by-step to switching your account type on Instagram below. Take a look!
Step 1: Launch the Instagram app on your smartphone.
From the Home tab that you land on, navigate the thumbnail of your profile picture on the bottom-right corner and tap on it to go to your Profile.
Step 2: Once you’re on your Profile tab, look for the hamburger icon on the top-right corner of the screen, right next to the Create button (with a plus symbol drawn on it).
Tap on this icon to view a scroll-up menu.
Step 3: The first option that you’ll find on this menu is of Settings, with a cogwheel icon drawn next to it. Tap on this option to open your Settings tab.
Step 4: On your Settings tab, you’ll see a long list of options. From this list, navigate Account and tap on it.
Step 5: Doing so will take you to your Account tab. Here, you’ll need to scroll down to the bottom of the page until you find these two options written in blue letters: Switch to Professional account and Add new professional account Tap on the first option here.
Step 6: As soon as you do, you’ll be given a glimpse into the exclusive features of a professional account on Instagram, with a blue Continue button given below. Tap on this button.
Step 7: Upon doing so, you’ll be taken to another tab where they will ask you What best describes you?
You’ll also be given a long list of preferences to choose from, including Artist, Digital creator, Writer, Gamer, Product/Service, Personal Blog, and more.
Pick a category that best describes your account and then tap on the Done button at the bottom of your screen.
Step 8: Next, you’ll find a dialogue box on your screen asking you to confirm your action here. Tap on OK here, and your job is done.*
How to Add Location On Instagram Bio
So, you’ve successfully switched to a professional account on Instagram. Congratulations! Now, let’s keep the formalities aside and get to the point: adding your location to your bio.
Here’s how you can add location on Instagram Bio:
Step 1: Launch the Instagram app on your device and from the Home tab that you first land on, find your profile picture’s thumbnail icon and tap on it to go to your Profile.
Step 2: Here, right under your profile picture and bio, you’ll find a white Edit Profile button; tap on it.
Step 3: On the Edit Profile tab, you’ll first see fields like Name, Username, Website, and Bio.
Under these, there would be a separate section called Public business information with five options under it: Page, Category, Contact options, Action buttons, and Profile display.
The option you need to select from this list is the third one: Contact options. Tap on it.
Step 4: You’ll find yourself on another tab here, with four contact options given below, of email address, phone number, address, and WhatsApp business phone number.
Tap on the third option here to go to another tab.
Step 5: On this tab, you’ll find three empty fields: Street address, City/Town, and Postal code.
Now, as it’s not mandatory for users to fill all of them, you can fill in whichever field you want to and then tap on the Done option on the top-right corner to save the changes.
Step 6: Now, when you go back to your profile, you’ll find your business (or personal address/location) displayed right below your bio.
Alternative Ways to Add Location On Instagram Bio
As you might already know (or have realized it by now), making any changes on your profile, including editing your bio, first requires you to open your Profile tab on the mobile app. Since we’ve already discussed how that’s done above, let’s start from the Profile tab this time.
Step 1: On your Profile tab, can you see the white Edit Profile button following your bio? You need to tap on this button now.
Step 2: Doing so will open up on the Edit Profile tab on your screen. Here, on the list of fields that you’re asked to fill, the last one would be of Bio.
Step 3: Tap on it, and your bio section will open up on a new tab, allowing you to edit it. Remember, Instagram allows you to add only 150 characters to your bio. So, if you already have a long one, you might need to change it.
The best thing about this section is it allows you to change lines at will rather than cramming everything up together. So, if you’re from Chicago and want your followers to know that, simply add it in a separate line on your bio.
You could also use various emojis to indicate that you’re living here, such as the pin emoji, home emoji, map emoji, and so on. Or you could take any other innovative approach you can think of.
Step 4: Once you’re done making the changes, tap on the blue Done option on the top-right corner of the screen and go back to your profile. You’ll find “Chicago” there already.
Also Read:


 Bitcoin
  Ethereum
  XRP
XRP  Tether
  BNB
BNB  Solana
  USDC
USDC  Dogecoin